
Detailed Guide on Vermicomposting
Vermicomposting (कृमि खाद) is a natural process of composting organic waste using earthworms. It is an eco-friendly and sustainable method for recycling waste, improving soil health, and producing nutrient-rich compost for plants. This process involves the breakdown of organic matter by earthworms and microorganisms, which results in vermicompost—a type of fertilizer that is rich in nutrients.
1. Introduction to Vermicomposting
Vermicomposting is the process of using specific species of earthworms to convert organic waste into humus-rich compost. Earthworms break down the organic materials into smaller particles, which are further decomposed by microorganisms. This results in a nutrient-dense organic fertilizer that can be used for improving soil structure and plant health.
2. Importance of Vermicomposting
- Waste Recycling: Vermicomposting helps recycle kitchen waste, agricultural residues, and other organic matter that would otherwise end up in landfills, reducing waste and environmental impact.
- Improves Soil Fertility: The end product, vermicompost, is rich in nutrients like nitrogen, phosphorus, potassium, calcium, and magnesium, essential for plant growth.
- Sustainable Agriculture: Vermicomposting reduces the reliance on chemical fertilizers, promotes soil health, and encourages organic farming.
- Boosts Soil Microbial Activity: Vermicompost improves soil aeration, water retention, and microbial activity, leading to healthier plants.
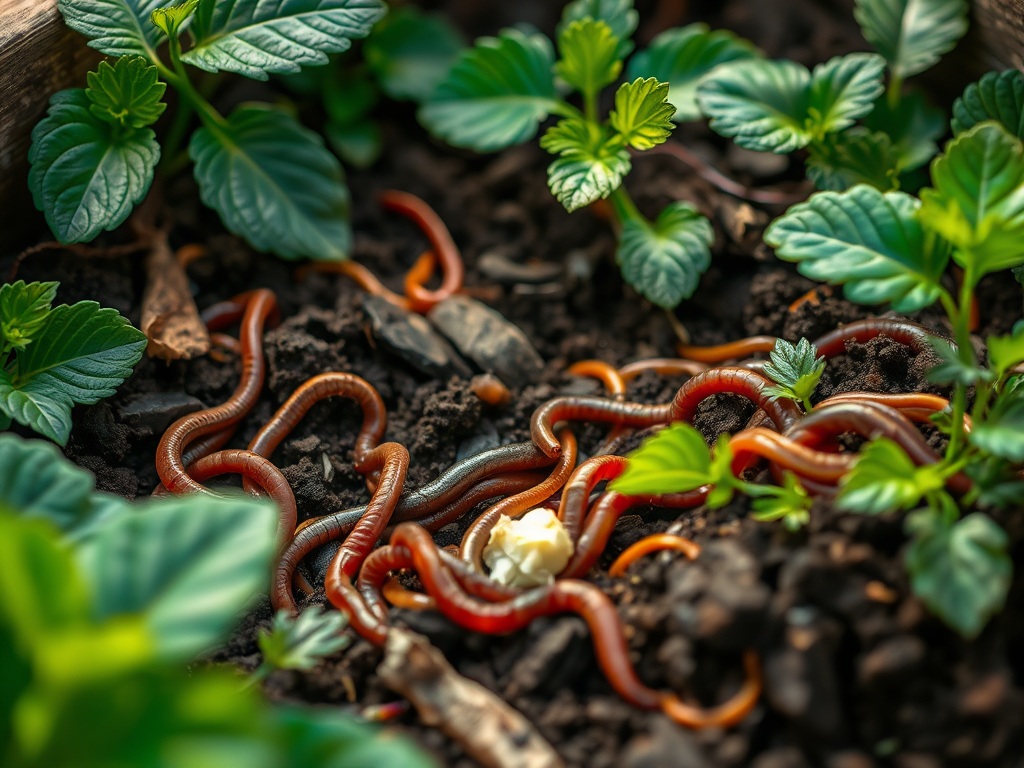
3. Types of Earthworms for Vermicomposting
The earthworm species used in vermiculture play a significant role in the quality and speed of composting. Some of the most common species for vermicomposting are:
- Red Wigglers (Eisenia fetida):
- The most commonly used earthworm for vermiculture.
- They thrive in decaying organic matter and are efficient at processing organic waste.
- Their population grows quickly, and they produce high-quality compost.
- Indian Blue Worm (Perionyx excavatus):
- Known for rapid composting but is more suited to tropical climates.
- They can process large amounts of organic waste efficiently.
- Tiger Worm (Eisenia hortensis):
- Similar to red wigglers but slightly larger.
- Good for converting organic waste into compost at a faster rate.
4. Materials Required for Vermicomposting
- Earthworms: The number of worms depends on the amount of organic waste to be composted. A typical household compost bin requires around 500–1,000 worms for effective processing.
- Composting Bin or Container: A container (plastic or wooden) with proper ventilation and drainage is needed. The size depends on the scale of vermicomposting, but common household bins range from 30–100 liters.
- Organic Waste: Kitchen scraps like fruit and vegetable peels, coffee grounds, tea bags, shredded paper, and yard waste can be used. Avoid using dairy, meat, oily food, and citrus as they are too acidic and attract pests.
- Bedding Material: Suitable bedding for earthworms includes shredded newspaper, cardboard, coconut coir, or dried leaves. This bedding material provides a habitat for the worms and helps maintain moisture levels.
- Water: Earthworms need moist conditions, but the bedding should not be too wet, as it can suffocate them.
5. Setting Up a Vermicomposting System
- Select the Container:
- Choose a bin that is large enough to accommodate the waste and worms. Ensure it has proper air circulation (holes in the sides and lid) to allow oxygen exchange and prevent anaerobic conditions.
- Depth: A 12–18-inch deep bin is generally sufficient for home composting.
- Prepare the Bedding:
- Fill the bin with 4–6 inches of bedding material such as shredded newspaper, cardboard, or coconut coir.
- Moisten the bedding material with water until it is damp but not soggy.
- Add Earthworms:
- Add earthworms to the bedding once it’s prepared. Depending on the size of your bin, you can start with around 500–1,000 worms for every 2–3 kilograms of organic waste.
- Space them evenly over the surface, and let them naturally burrow into the bedding.
- Add Organic Waste:
- Begin adding organic waste to the bin in small amounts, burying it under the bedding to avoid attracting pests.
- It’s recommended to add scraps in one corner of the bin initially, giving the worms time to process it before adding more.
- Chop or shred larger pieces of organic waste into smaller bits to speed up decomposition.
- Moisture and Temperature Control:
- Keep the bin in a cool, dark place. Vermicomposting thrives in temperatures between 15-25°C (59-77°F).
- Ensure the bedding remains moist. You can periodically spray water over the bin, but do not make it too wet. The moisture level should resemble a wrung-out sponge.
6. Feeding the Earthworms
- Types of Food: The worms feed on organic materials like fruit and vegetable scraps, coffee grounds, tea leaves, eggshells, and small amounts of paper products.
- Avoid: Meat, dairy products, oily foods, and citrus (orange, lemon, etc.), as they can disrupt the process or create an unpleasant odor.
- Feeding Frequency: Add food to the bin every 2-3 days. Always cover new food with a layer of bedding to prevent odors and flies.
- Balance: Maintain a balanced ratio of green (nitrogen-rich) and brown (carbon-rich) materials. Green materials include vegetable scraps, while brown materials include dry leaves, shredded newspaper, and cardboard.
7. Maintenance of the Vermicomposting System
- Moisture Levels:
- Keep the bin moist but not waterlogged. Too much moisture can lead to anaerobic conditions and bad odors, while too little moisture will slow down the decomposition process.
- Aeration:
- Turn the bedding every 1-2 weeks to ensure aeration and prevent the bin from becoming compacted, which can suffocate the worms.
- Temperature Control:
- Keep the bin in a location where the temperature is between 15°C and 25°C. Extreme temperatures (too hot or too cold) can harm or kill the worms.
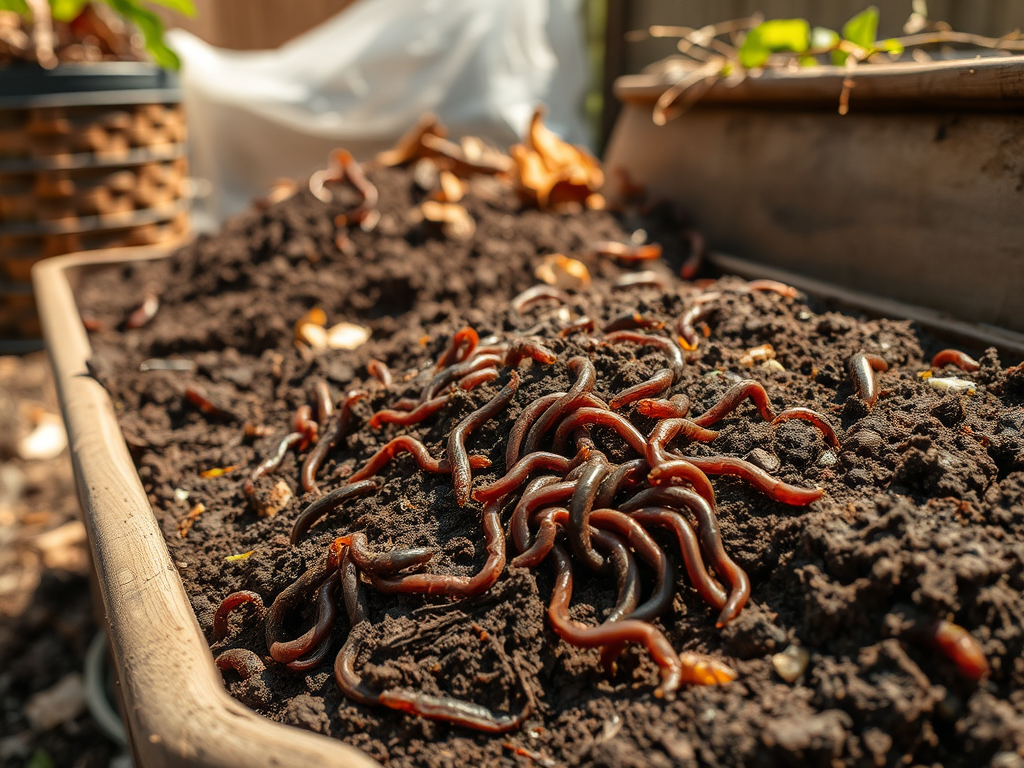
- Harvesting Vermicompost:
- In 2-3 months, you will begin to see dark, crumbly, earth-like material at the bottom of the bin. This is the finished vermicompost.
- When most of the bedding has decomposed, and the bin has a uniform dark texture, it’s time to harvest.
- There are several methods to harvest:
- The Binning Method: Remove the compost from one side of the bin, allowing the worms to migrate to the other side.
- The Light Method: Spread the compost thinly and shine a light on it; worms move away from the light, and you can scoop out the top layer.
- Troubleshooting:
- Odor: If the bin smells bad, it might be too wet or have too much food. Add more bedding and reduce food intake.
- Pests: Flies can be a problem. Ensure food is buried, and the bin is covered. You can also add diatomaceous earth to help control pests.
- Worm Health: If worms are dying, check the temperature, moisture levels, and type of food being added.
8. Benefits of Vermicomposting
- Nutrient-Rich Fertilizer: Vermicompost is high in nutrients like nitrogen, phosphorus, and potassium, which promote plant growth.
- Improves Soil Structure: It enhances soil aeration, water retention, and microbial activity.
- Reduces Waste: Helps recycle organic waste that would otherwise be discarded.
- Reduces the Need for Chemical Fertilizers: Vermicomposting encourages organic farming practices and reduces dependence on chemical fertilizers.
- Promotes Sustainability: It contributes to a more sustainable and eco-friendly lifestyle by reducing landfill waste and enriching soil.
9. Commercial Vermicomposting
In addition to household composting, vermiculture can be practiced on a larger scale for commercial purposes. The key steps for commercial vermiculture include:
- Large-Scale Earthworm Rearing: Ensuring a stable environment for a large number of worms.
- Collecting Organic Waste: Sourcing organic waste from farms, kitchens, and even food processing industries.
- Automated Systems: For larger setups, automated feeding, moisture control, and aeration systems may be used to improve efficiency.
- Marketing Vermicompost: Vermicompost can be marketed as a premium organic fertilizer for farms, gardens, and landscaping projects.
10. Conclusion
Vermicomposting is an effective and sustainable way to recycle organic waste, improve soil health, and promote organic farming. It’s simple to start, environmentally friendly, and offers numerous benefits to both gardeners and farmers. Whether you’re composting at home or exploring commercial opportunities, vermiculture is a fantastic way to contribute to a more sustainable future while enhancing the fertility of your soil.
